Installation
Instructions
For Graphic Stripes
Click on thumb for a full sized
image |
|

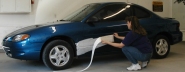
| 1. Clean the paint with a strong glass cleaner |
 |
| 2. Be sure paint is both clean and dry |
|

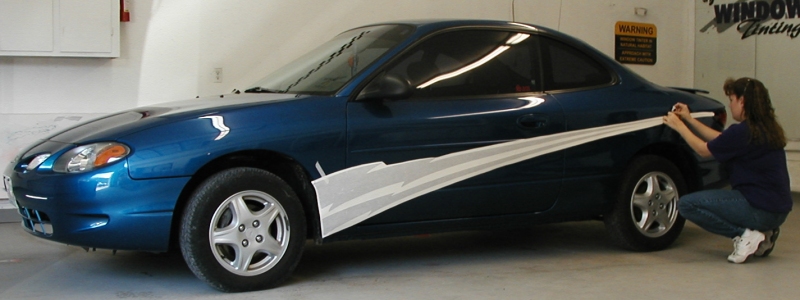
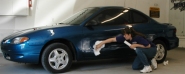
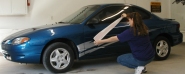
| 3. Tape graphic EXACTLY where you want it to go |
|

| 4. "Hinge" the middle of the graphic with masking tape |
|

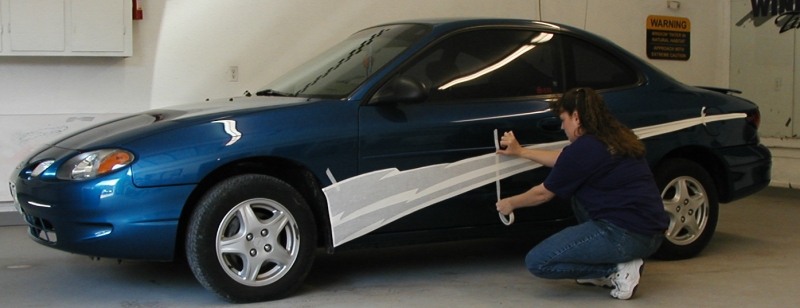
| 5. Fold half the graphic back onto itself at the "hinge" |
|
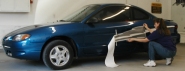
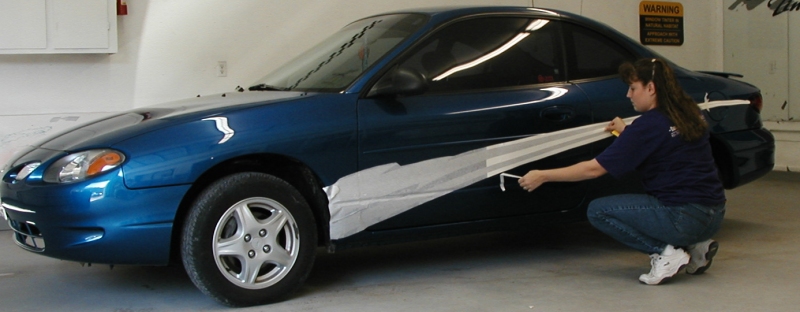
| 6. Remove wax backing - exposing the adhesive |
|
|
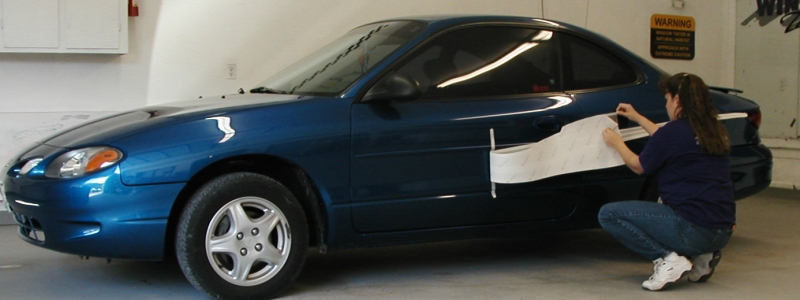
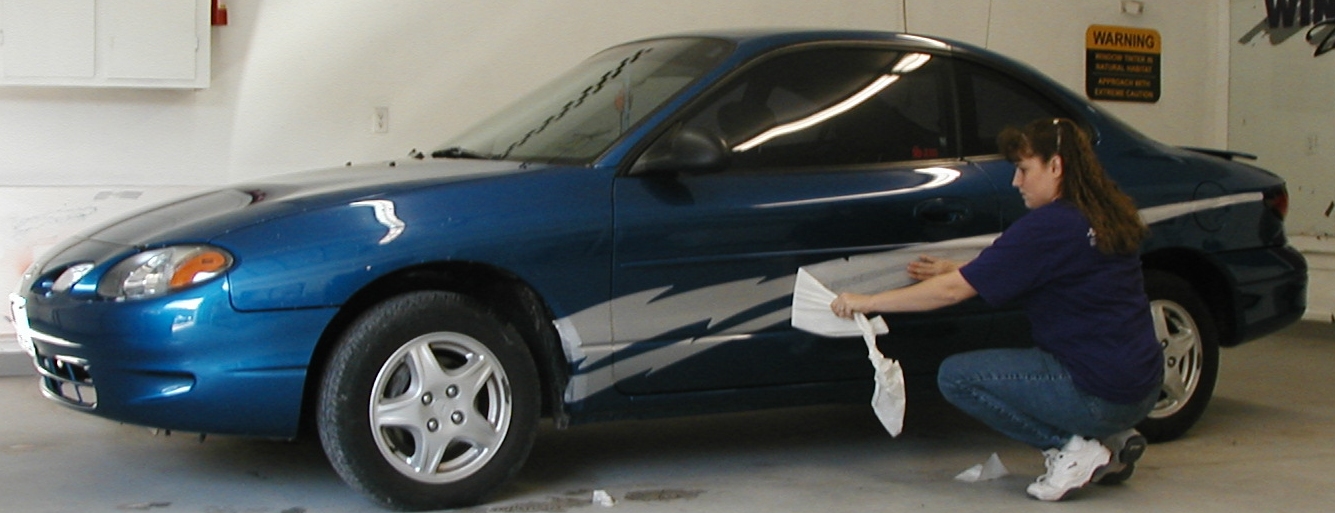
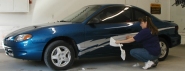
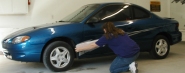
| 8. Squeegee graphic - from the "hinge" outward. Be careful
not to leave behind air pockets (bubbles)! |
|

|
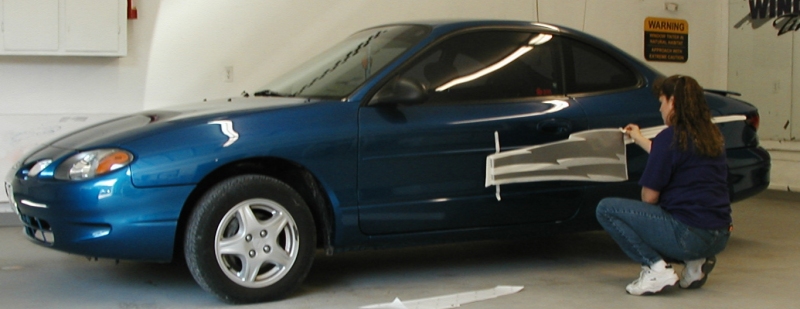
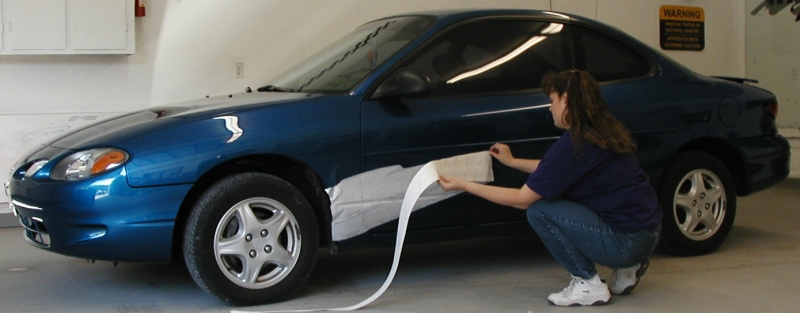
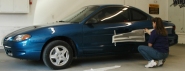
| 10. Fold the other half of the graphic back onto
itself |
|

| 11. Remove wax backing - exposing the adhesive |
|

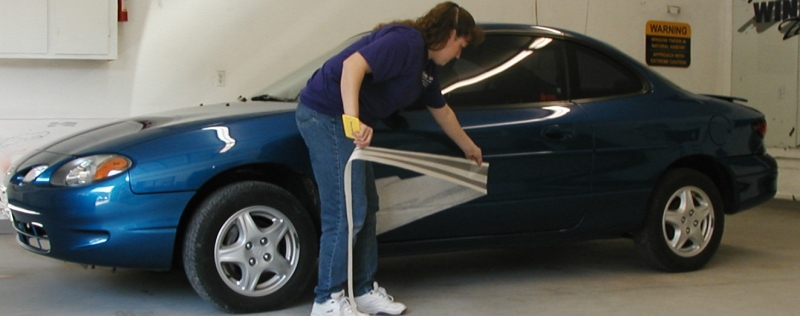
| 12. Be sure adhesive does not touch itself |
|
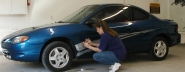
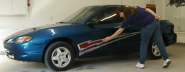
| 13. Squeegee graphic - from the center outward. Be careful
not to leave behind air pockets (bubbles)! |
|
|
| 15. Trim excess from door joints - careful to cut straight
and not to deep |
|
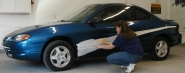
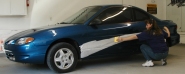
| 16. Size up where the second color goes - if applicable |
|
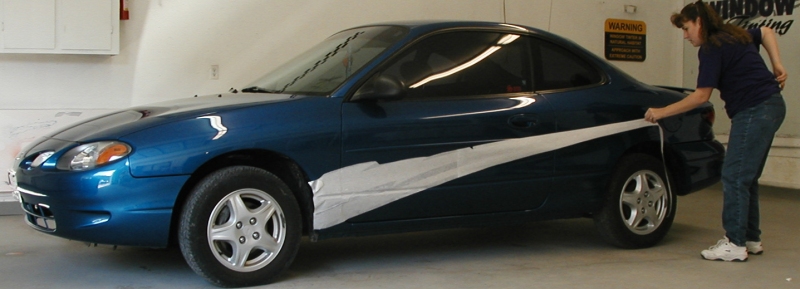
| 17. "Register" the graphic - look through the transparent
mask to be sure it lines up |
|
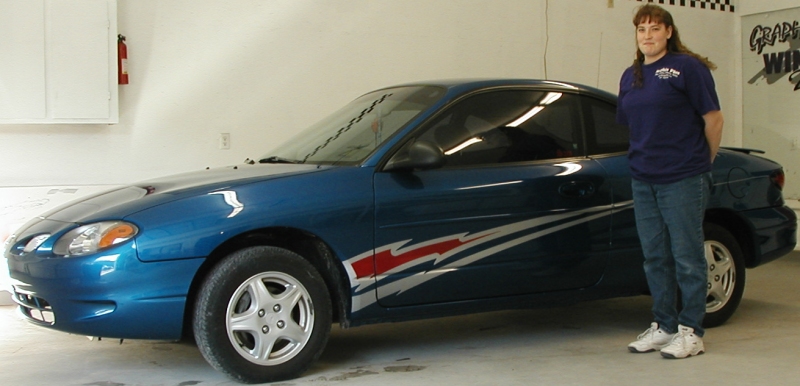
| 18. Squeegee and remove mask |
|

|